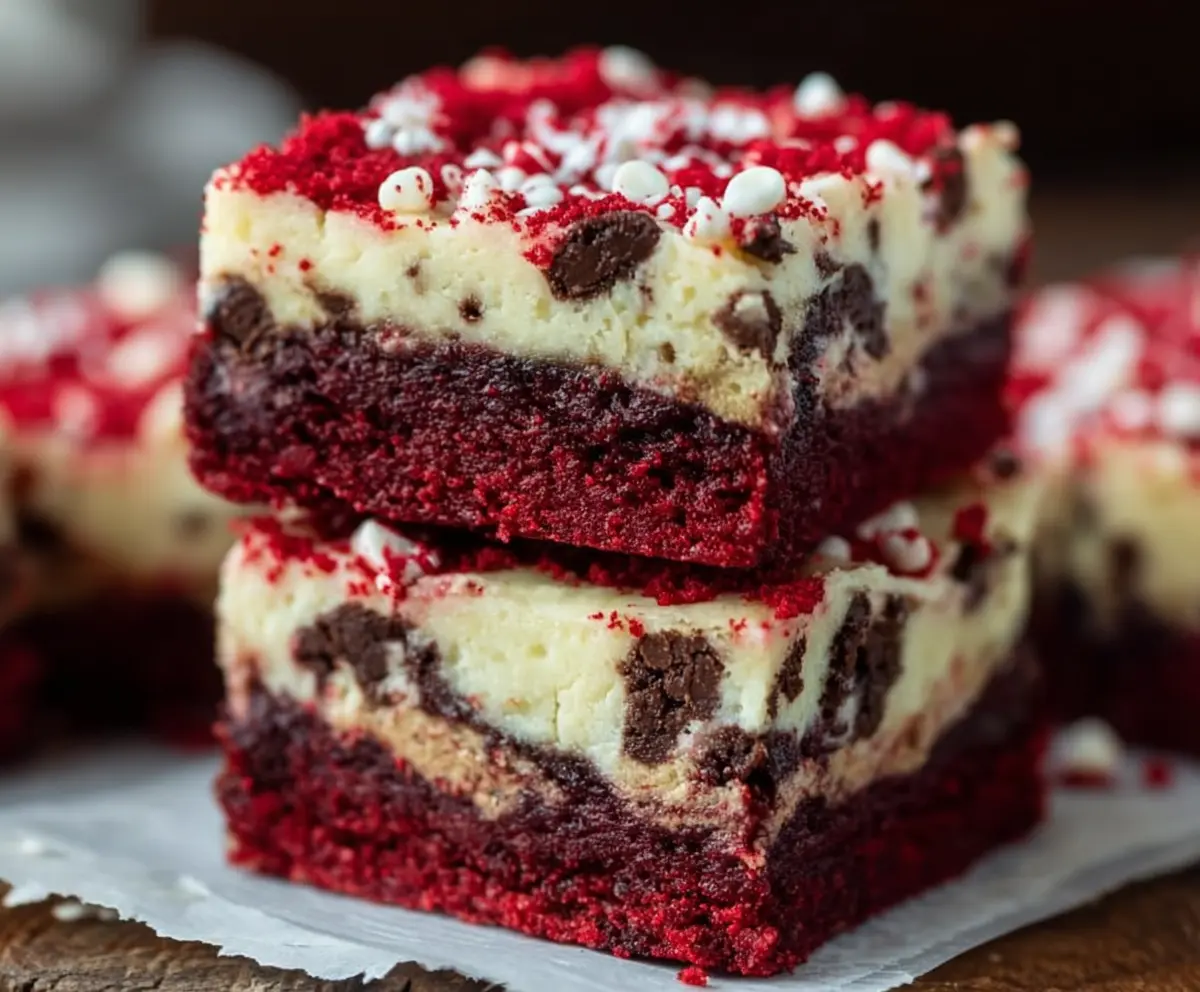
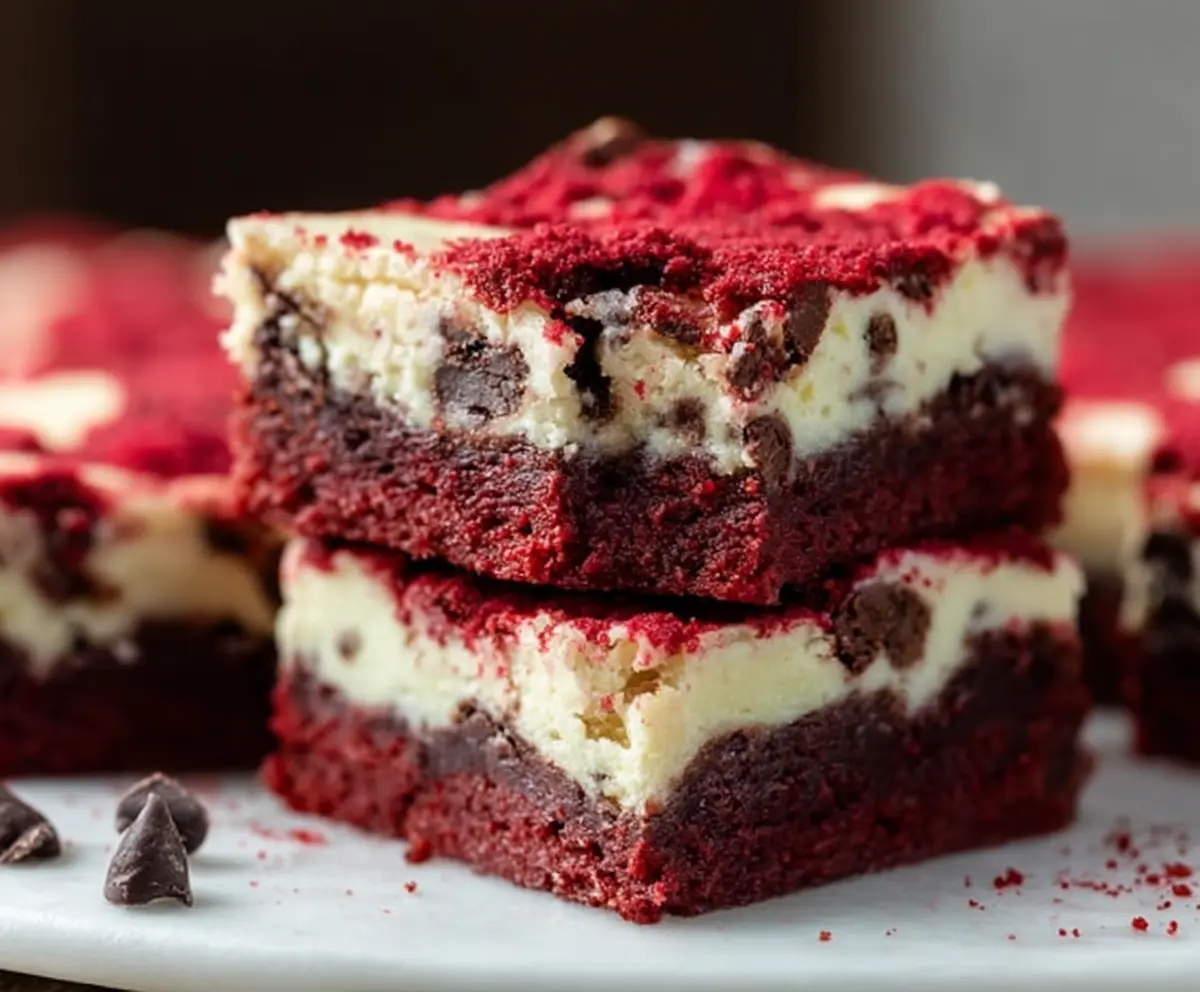
These Red Velvet Chocolate Chip Cheesecake Bars are a fun twist on a classic treat! With their bright red color and creamy cheesecake filling, they look as good as they taste.
You get the best of both worlds with rich chocolate chips and soft cheesecake. I love serving these at parties. They always make people smile—and who can resist a good slice? 🎉
Key Ingredients & Substitutions
Red Velvet Cake Mix: This is the star of the show! Using a box mix makes this recipe easy and consistent. If you prefer homemade, you can make red velvet from scratch using flour, cocoa powder, and buttermilk.
Cream Cheese: Softened cream cheese gives that smooth cheesecake texture. If you’re looking for a lighter option, you can use Neufchâtel cheese, which has less fat yet similar taste.
Granulated Sugar: Sugar sweetens the cheesecake layer. You can substitute with coconut sugar or a sugar alternative if you want to reduce calories or suit dietary needs.
Mini Chocolate Chips: These add a nice chocolatey touch! Feel free to use dark chocolate chips for a richer flavor, or swap in fruit like raspberries for a fresh twist.
How Do You Make the Cheesecake Layer Super Smooth?
Getting that cheesecake layer creamy is key! Start with room temperature cream cheese; this keeps it from being lumpy. Beat it well until smooth before adding the sugar and eggs.
- Beat the cream cheese in a large bowl until fluffy.
- Add sugar and mix until well combined.
- Introduce eggs one at a time for even blending.
- Don’t forget to scrape down the sides of the bowl to ensure everything mixes evenly.
This method helps achieve a silky cheesecake that pairs perfectly with the red velvet base. Taking your time now will pay off with a deliciously smooth final result!
Red Velvet Chocolate Chip Cheesecake Bars
Ingredients You’ll Need:
For the Red Velvet Layer:
- 1 box red velvet cake mix (about 15.25 ounces)
- Ingredients called for on the cake mix box (usually eggs, oil, and water)
For the Cheesecake Layer:
- 16 ounces (2 packages) cream cheese, softened
- 1/2 cup granulated sugar
- 2 large eggs
- 1 teaspoon vanilla extract
- 1 cup mini semisweet chocolate chips
Optional Topping:
- Red velvet cake crumbs (from leftover cake batter or reserved crumbs)
- Mini white chocolate chips or additional chocolate chips for garnish
How Much Time Will You Need?
This recipe takes about 15 minutes to prepare and 45-50 minutes to bake. Remember to chill the bars in the fridge for at least 4 hours or overnight before serving. So, all total, you’ll need a bit of patience but the end result is so worth it!
Step-by-Step Instructions:
1. Prepare Your Oven and Pan:
Start by preheating your oven to 350°F (175°C). Line a 9×13 inch baking pan with parchment paper for easy removal later. You can also grease the pan generously if you prefer.
2. Make the Red Velvet Layer:
Mix the red velvet cake batter according to the instructions on the box. Once everything is combined, pour the batter into your prepared pan. Use a spatula to smooth it out evenly.
3. Bake the Layer:
Place the pan in the oven and bake the red velvet layer for about 15 minutes. It should be just set; a toothpick inserted into the center will come out with moist crumbs. When it’s ready, remove it from the oven but keep the oven on!
4. Prepare the Cheesecake Layer:
While the red velvet is baking, get started on the cheesecake layer. In a large bowl, beat the softened cream cheese with a mixer until it’s nice and smooth. Add in the granulated sugar and mix until combined.
5. Add Eggs and Vanilla:
Next, add the eggs one at a time, mixing well after each addition. Don’t forget the vanilla extract; stir that in too until everything is well blended!
6. Fold in the Chocolate Chips:
Gently fold in the mini chocolate chips. This will add a delightful chocolaty surprise to your cheesecake layer!
7. Combine the Layers:
Pour the cheesecake mixture over the warm red velvet layer in the pan, spreading it out evenly so it covers the red velvet cake.
8. Optional Toppings:
If you like, sprinkle some red velvet crumbs and a few mini white chocolate chips on top for a pop of color and extra sweetness.
9. Bake the Final Layer:
Return the pan to the oven and bake for 30-35 minutes, or until the cheesecake layer is set but still slightly jiggly in the center. It’s okay if it jiggles a bit as it will firm up as it cools!
10. Cool and Chill:
Once baked, take the bars out of the oven and let them cool completely in the pan on a wire rack. After they’re cooled, cover them and pop them in the fridge for at least 4 hours or even overnight to let them set fully.
11. Slice and Serve:
When you’re ready to serve, gently lift the bars out of the pan using the parchment paper. Cut them into squares and enjoy these rich, creamy treats!
These Red Velvet Chocolate Chip Cheesecake Bars are perfect for any special occasion or when you just want to treat yourself or your friends. Enjoy every delicious bite! 🎂❤️
Can I Use a Different Cake Mix for This Recipe?
Absolutely! While red velvet gives that classic look and flavor, you can substitute it with a chocolate or vanilla cake mix if you prefer. Just be aware that it will change the overall appearance and taste of the bars.
What Can I Use Instead of Cream Cheese?
If you’re looking for a lighter option or dairy-free alternative, you can use silken tofu blended until smooth, or a dairy-free cream cheese. Just ensure it’s softened for the best texture!
How Do I Store Leftover Bars?
Store any leftovers in an airtight container in the fridge for up to 5 days. They taste delicious chilled but can also be enjoyed at room temperature!
Can I Freeze These Cheesecake Bars?
Yes! These bars freeze well. Wrap them tightly in plastic wrap and then foil, or store them in an airtight container. They can be frozen for up to 3 months. Thaw in the refrigerator before serving for best results.