Southern green tomato pie turns tart, firm green tomatoes into something soft, custardy, and unmistakably old-fashioned. The filling bakes up with a sweet-savory balance that lands somewhere between fruit pie and tomato cobbler, and the flaky crust keeps every slice grounded. It’s the kind of recipe that surprises people on the first bite, then has them asking how something so simple can taste so layered.
What makes this version work is the way the tomatoes are handled before they go into the oven. Thin slicing helps them soften without turning watery, and the flour gives the juices just enough body to set instead of running across the plate. Cinnamon and nutmeg sound unusual with tomatoes, but they round off the sharp edges and give the filling that classic Southern pie character without making it taste like dessert.
Below, I’ll walk through the small details that matter most: how to keep the bottom crust from going soggy, why the filling needs a full cooling time, and what to do if your tomatoes are extra juicy. If you’ve only ever used green tomatoes for frying, this pie is the other recipe worth keeping.
The tomatoes held their shape and the filling set up after cooling just like you said. I was worried it would be runny, but the slices came out neat and the sweet-tangy balance was spot on.
Save this Southern green tomato pie for the day you want a flaky crust, tender tart tomatoes, and a sweet-savory filling that slices clean.
The Secret to Keeping Green Tomato Pie from Going Watery
Green tomatoes have a lot of structure, which is exactly why they work here, but they still release enough juice in the oven to cause trouble if you skip the flour or slice them too thick. The filling needs that light coating so the juices thicken as the pie bakes instead of pooling under the top crust. That’s what gives you slices that hold together instead of collapsing at the first cut.
The other piece people miss is the cooling time. Fresh from the oven, the filling will still look loose in the center, even when it’s done. Letting the pie rest for a full two hours gives the starch time to finish setting the juices, so you get a firm slice with a glossy, spoonable filling rather than a hot tomato puddle.
What Each Ingredient Is Actually Doing in This Pie
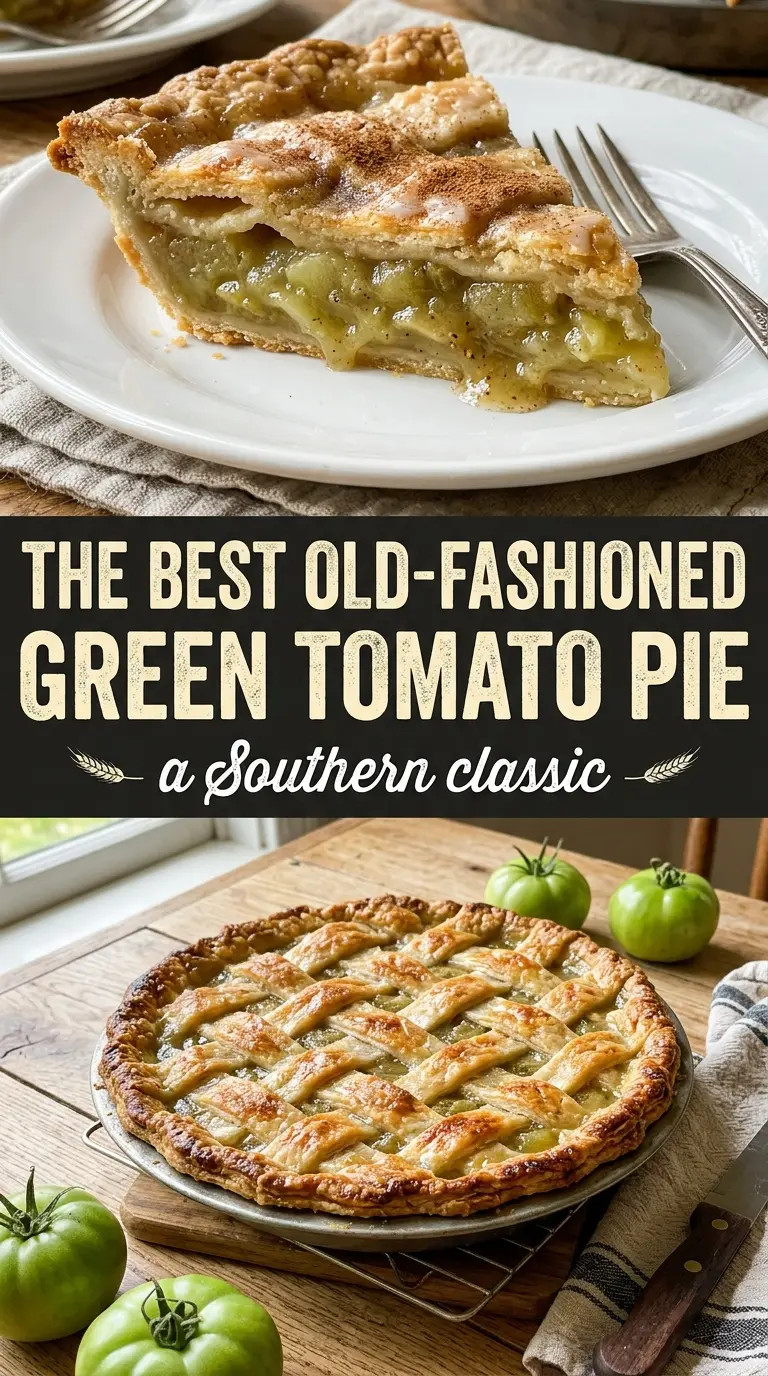
- Green tomatoes — Use firm, unripe tomatoes with a clean tart bite. Soft or nearly ripe tomatoes throw off too much liquid and tilt the pie away from that sharp, lively flavor. Thin slices cook evenly and help the filling settle into a custard-like texture.
- Granulated sugar — This doesn’t turn the pie into dessert. It balances the acidity of the tomatoes and helps the filling taste rounded instead of sour. If your tomatoes are especially sharp, the full amount matters.
- All-purpose flour — This is the binder that keeps the filling from running. Cornstarch can work in a pinch, but flour gives a softer, more old-fashioned set that suits this pie better.
- Cinnamon and nutmeg — These spices are subtle, but they’re what make the pie taste like a Southern baking recipe instead of just baked tomatoes. Don’t overdo them; the goal is warmth, not spice-pie flavor.
- Lemon juice — A small amount brightens the filling and keeps the sugar from flattening the tomatoes. If your tomatoes taste especially mild, the lemon gives the pie more lift.
- Butter — Dotting the top with butter helps the filling taste richer and gives the juices a softer, silkier finish. Cold cubes are better than melted butter because they disperse as the pie bakes instead of sinking all at once.
- Pie crust — A sturdy, flaky double crust is worth using here because it has to hold a juicy filling. Store-bought works fine, but if you’re making homemade, keep it cold so the bottom bakes up crisp instead of greasy.
Building the Filling So the Pie Slices Cleanly
Coating the Tomatoes Evenly
Toss the sliced tomatoes with the sugar, flour, spices, and lemon juice until every piece looks lightly dusted. The flour has to touch the tomato juices to do its job, so don’t dump everything in the crust unmixed. If you see dry flour clumps, keep tossing; those pockets bake up pasty instead of turning into a smooth filling.
Filling the Crust Without Overpacking It
Pour the tomato mixture into the bottom crust and mound it slightly in the center. The tomatoes settle as they bake, so a little height at the start keeps the pie from looking flat when it comes out. If the filling is heaped too high, the top crust can tear when it starts to shrink, so aim for generous, not overloaded.
Sealing, Venting, and Baking in Two Stages
Seal the edges well and cut a few slits in the top crust so steam can escape. The first hot blast at 400°F helps set the crust fast, which keeps the bottom from turning soggy, then the lower heat finishes the filling without overbrowning the top. If the edges darken too quickly, cover them with foil after the first 15 minutes and let the center keep baking.
Waiting for the Filling to Set
When the pie comes out, the center may still wobble a little. That’s normal. Leave it alone for at least two hours so the juices thicken and the slices hold their shape. Cutting too early is the fastest way to turn a neat pie into a loose filling with broken crust.
Three Ways to Make This Pie Fit What You’ve Got
Gluten-Free Crust Swap
Use a gluten-free double crust that’s meant for baking rather than a crumb crust. The filling itself already thickens well with flour, so the main change is in the crust texture; chill the dough well so it doesn’t crack when you crimp it.
Less-Sweet, More-Tangy Filling
Cut the sugar back by 2 to 3 tablespoons if your tomatoes are very sharp or if you prefer a more savory finish. The pie will taste brighter and less dessert-like, but it still needs enough sugar to balance the acidity and keep the flavor rounded.
Dairy-Free Version
Swap the butter for a firm plant-based butter stick. You’ll still get richness and a little gloss in the filling, though the flavor will be slightly less mellow than the dairy version. Keep the crust dairy-free too if needed, since many store-bought versions already are.
Storage and Reheating
- Refrigerator: Keep leftovers covered for up to 4 days. The crust softens a bit, but the filling stays nicely set.
- Freezer: Freeze baked slices tightly wrapped for up to 2 months. Thaw in the refrigerator overnight; whole pie freezing works, but the crust won’t be quite as crisp after thawing.
- Reheating: Warm slices in a 325°F oven until the filling is heated through and the crust is crisp again. The common mistake is microwaving, which turns the bottom soggy and makes the filling loose.
Answers to the Questions Worth Asking
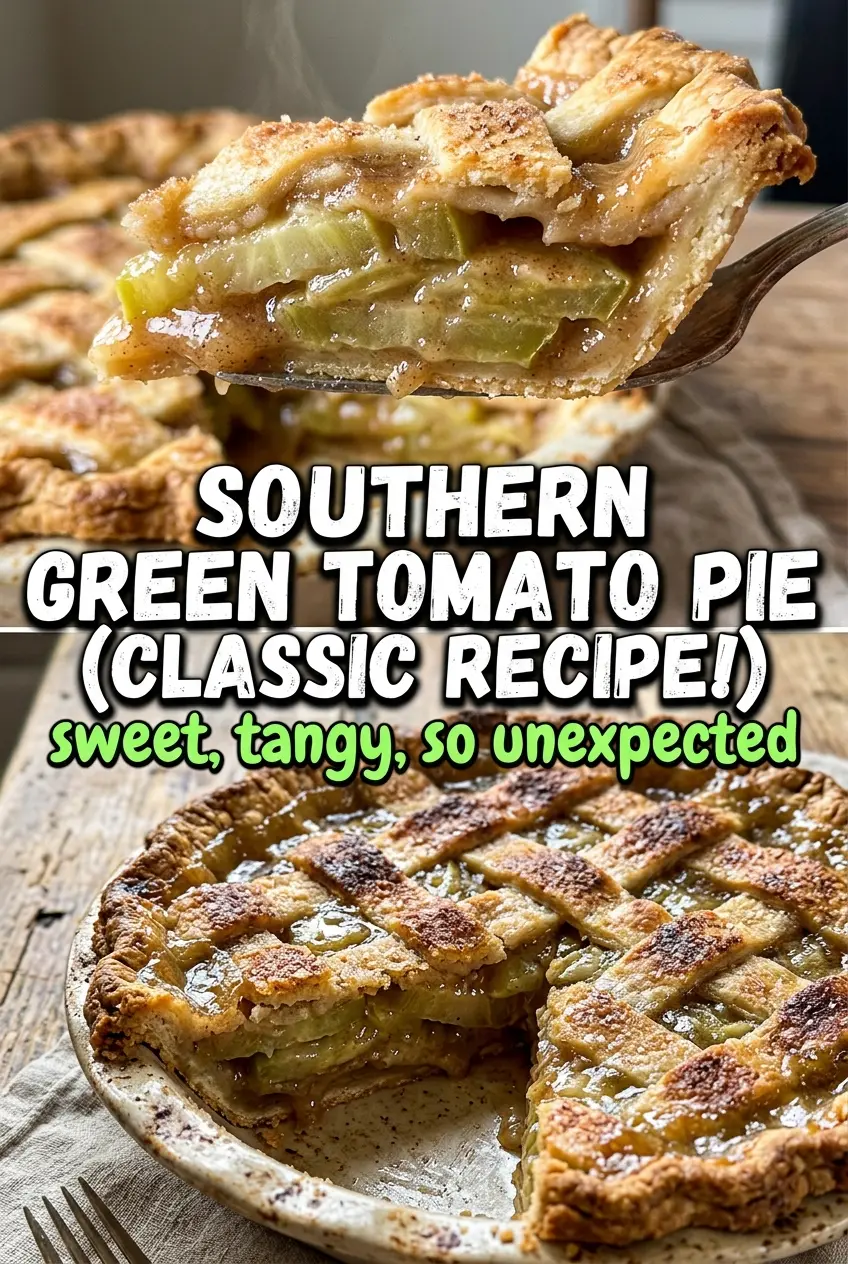
Southern Green Tomato Pie
Ingredients
Equipment
Method
- Preheat the oven to 400°F and fit one pie crust into a 9-inch pie dish. Make sure the crust covers the dish edges so the filling won’t leak.
- Toss the sliced green tomatoes with granulated sugar, all-purpose flour, ground cinnamon, ground nutmeg, and lemon juice in a large bowl. Mix until the tomato slices look evenly coated.
- Pour the tomato mixture into the prepared crust, mounding slightly in the center. Distribute the mound so it sits evenly over the bottom crust.
- Dot the filling with cubed unsalted butter. Place small pieces across the top for even richness as it bakes.
- Top with the second pie crust, sealing and crimping the edges, then cut a few slits to vent steam. Set the pie on a sheet pan to catch any bubbling drips.
- Bake for 15 minutes at 400°F. Look for the crust to start setting and lightly browning at the edges.
- Reduce the oven to 350°F and bake for another 35–40 minutes, until the crust is golden and the filling is bubbling. Check the center bubbling through the vent slits.
- Cool for at least 2 hours before slicing to let the filling set. The filling should hold its shape when you run a knife through the center.