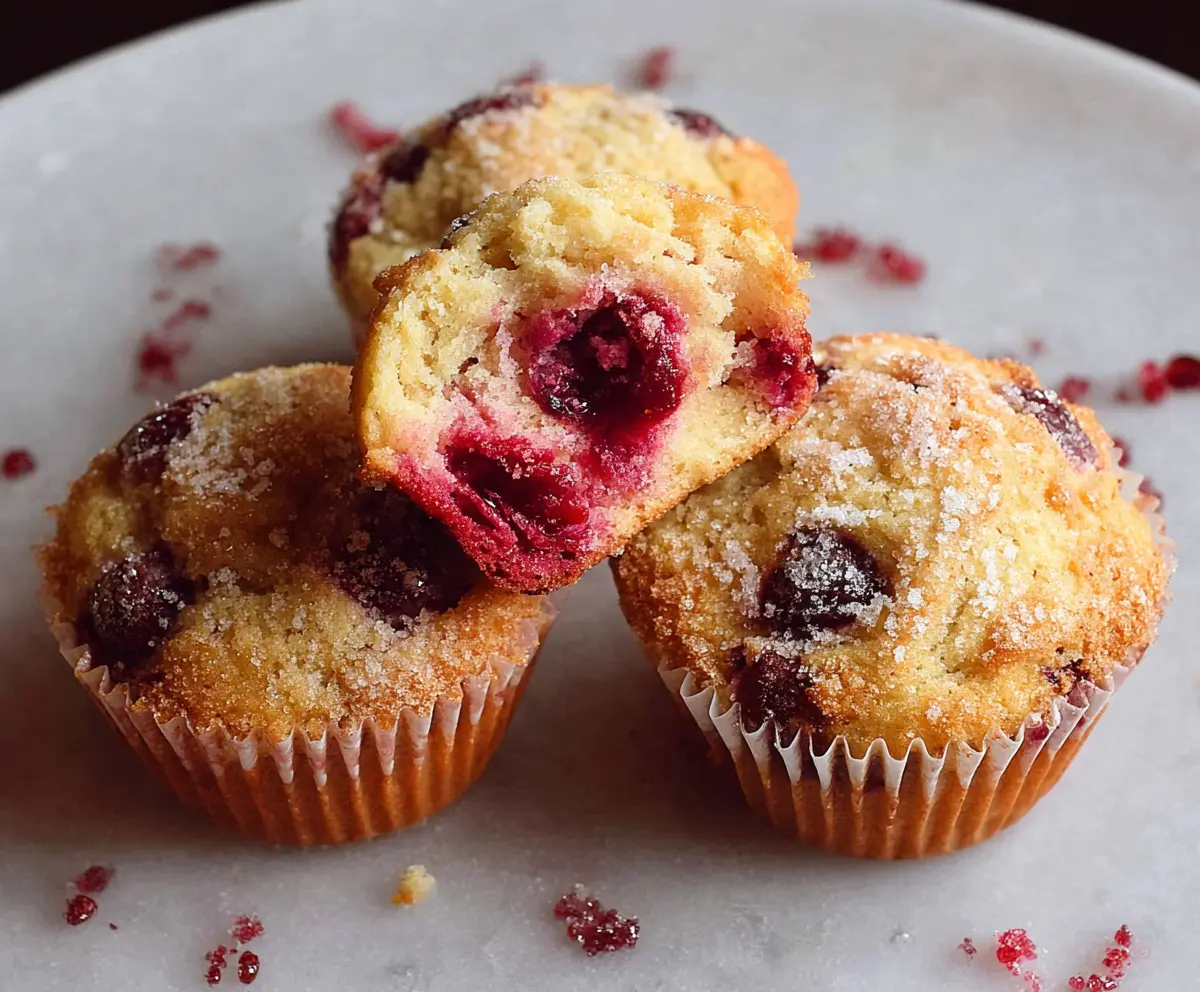
These Cherry Muffins are soft, fluffy, and bursting with juicy cherries! They’re super easy to whip up and perfect for breakfast or a sweet snack any time of day.
Honestly, who doesn’t love a warm muffin? I find it hard to resist one fresh from the oven, especially with those bright red cherries peeking out. So tasty! 😋
Key Ingredients & Substitutions
All-Purpose Flour: This is your base for the muffins. If you’re looking for a gluten-free option, try using a gluten-free all-purpose blend instead. Personally, I find that using a mix of whole wheat and all-purpose flour gives a nice texture while adding some health benefits.
Cherries: Fresh cherries are best since they add a lovely flavor and moisture. If they’re out of season, frozen cherries work just fine too—just be sure to thaw and drain excess liquid before using. I love using sour cherries for a slightly tart contrast!
Sour Cream or Yogurt: This adds moisture and richness. If you’re in a pinch, you can replace it with buttermilk or a plant-based yogurt for a dairy-free version. I often use Greek yogurt for extra protein!
Butter: Unsalted butter is recommended for better control over the seasoning. If you’re looking for a dairy-free option, coconut oil or a vegan butter can be great alternatives.
What’s the Best Way to Ensure My Muffins Are Fluffy and Not Dense?
A crucial step in making muffins fluffy is to avoid overmixing the batter. Here’s how to get it just right:
- Mixing should be done just until the flour disappears. It’s okay if there are a few lumps.
- Using room temperature ingredients helps achieve a better rise. So don’t forget to take your butter and eggs out ahead of time!
- Measure your flour correctly; spoon it into your measuring cup and level it off with a knife rather than scooping directly from the bag.
Following these tips can make a significant difference in the texture of your muffins! Enjoy making these delicious Cherry Muffins!
Cherry Muffins (Fresh and Easy)
Ingredients You’ll Need:
- 1 ¾ cups (220g) all-purpose flour
- 1 teaspoon baking powder
- ½ teaspoon baking soda
- ¼ teaspoon salt
- ½ cup (115g) unsalted butter, softened
- 1 cup (200g) granulated sugar, plus extra for sprinkling
- 2 large eggs
- 1 teaspoon vanilla extract
- ¾ cup (180ml) sour cream or plain yogurt
- 1 ½ cups fresh or frozen cherries, pitted and chopped if large
How Much Time Will You Need?
This easy recipe will take you about 15 minutes to prepare and 18-22 minutes to bake. You’ll have delicious cherry muffins ready in no time—perfect for breakfast, snacks, or dessert!
Step-by-Step Instructions:
1. Preheat and Prepare the Muffin Tin:
Start by preheating your oven to 375°F (190°C). While it’s heating, line a muffin tin with paper liners or greasing it well to prevent sticking.
2. Combine Dry Ingredients:
In a medium bowl, whisk together the flour, baking powder, baking soda, and salt. This step ensures the leavening agents are evenly distributed, so your muffins rise perfectly. Set this mixture aside.
3. Cream Butter and Sugar:
In a large mixing bowl, beat the softened butter and granulated sugar together until the mixture is light and fluffy. This usually takes about 2-3 minutes. Creaming the butter too is key for that lovely texture!
4. Add Eggs and Vanilla:
Add the eggs one at a time to the butter mixture, making sure to mix well after each egg. Stir in the vanilla extract for that wonderful hint of flavor.
5. Mix Dry and Wet Ingredients:
Now, you’ll add your dry ingredients and sour cream (or yogurt) to the butter mixture. Start by adding a third of the flour mixture, then half of the sour cream, and continue to alternate, finishing with the flour. Remember: mix only until just combined to keep your muffins nice and light!
6. Fold in the Cherries:
Gently fold the chopped cherries into the batter. Be careful not to overmix here, as you want those juicy pieces to remain intact.
7. Fill the Muffin Cups:
Using a scoop or spoon, divide the batter evenly among the muffin cups, filling each about 2/3 full. They need space to rise, after all!
8. Sprinkle and Bake:
For a slightly sweet finish, sprinkle a little extra granulated sugar on top of each muffin before placing them in the oven. Bake for 18-22 minutes, until they are golden and a toothpick comes out clean.
9. Cool and Enjoy:
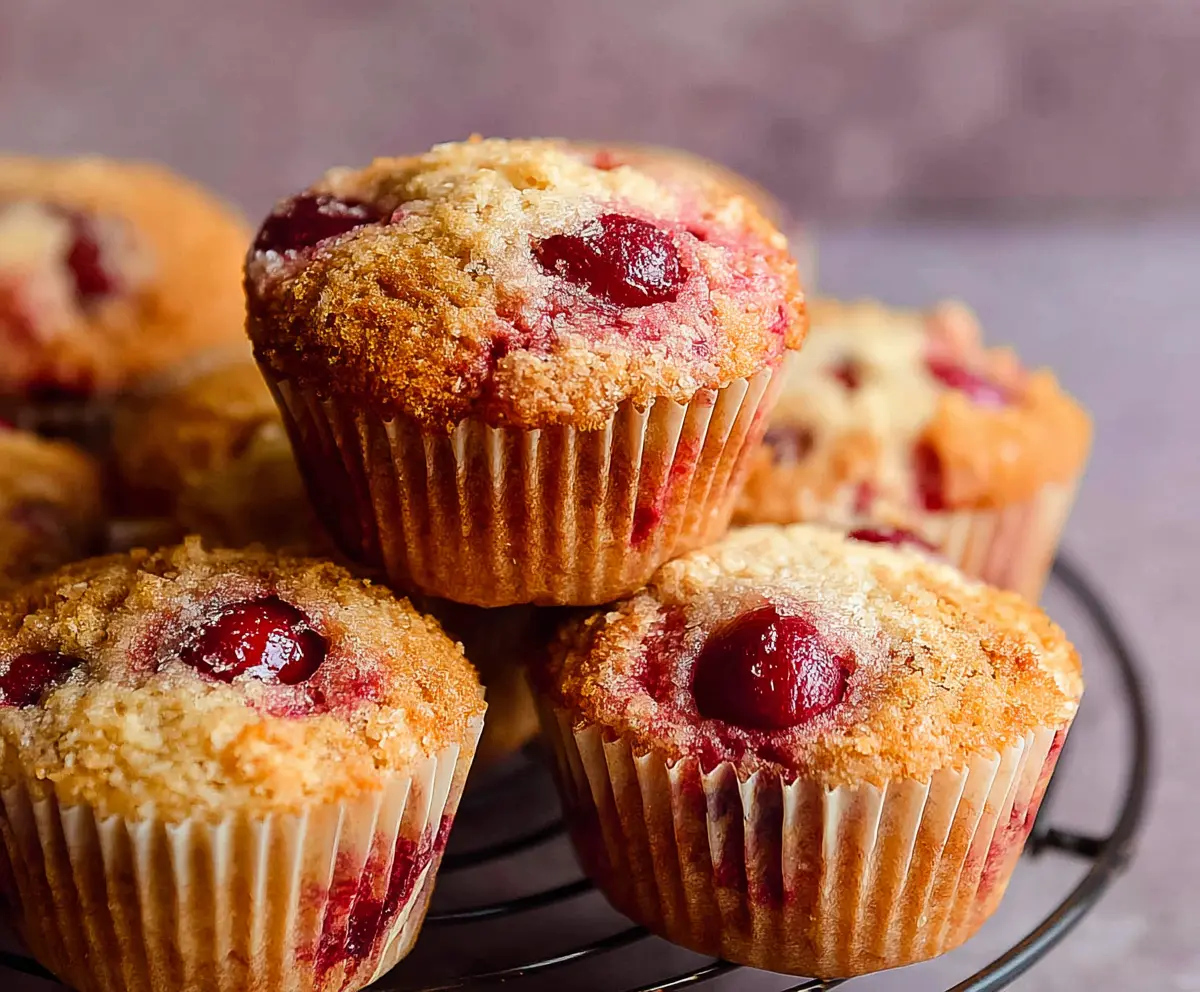
Let the muffins cool in the pan for about 5 minutes, then transfer them to a wire rack to cool completely. They taste amazing warm, but are also delightful at room temperature!
And there you go! These muffins should have a lovely golden crust with a tender crumb and sweet bursts of cherry in every bite. Enjoy them fresh for a delightful treat any time of day!
Can I Use Frozen Cherries in This Recipe?
Absolutely! If you’re using frozen cherries, just make sure to thaw them first and drain any excess liquid. This will help prevent the muffins from becoming too soggy. You can thaw the cherries overnight in the fridge or quickly in a microwave for a few seconds.
How Can I Make These Muffins Healthier?
To make these muffins a bit healthier, try substituting half of the all-purpose flour with whole wheat flour. You can also reduce the sugar slightly or substitute it with a natural sweetener like honey or maple syrup. Just remember that using liquid sweeteners may alter the consistency slightly, so you might need to adjust the wet ingredients.
How Do I Store Leftover Muffins?
Store any leftover muffins in an airtight container at room temperature for up to 3 days. For longer storage, you can freeze them! Just wrap each muffin in plastic wrap and place them in a freezer bag. When you’re ready to enjoy one, let it thaw on the counter or warm it in the microwave.
Can I Add Other Fruits to This Recipe?
Yes! Feel free to mix in other fruits like blueberries, raspberries, or even chopped apples. Just remember to adjust the amount according to your taste, and ensure the fruits are well-drained if using frozen ones to keep the batter from getting too wet.