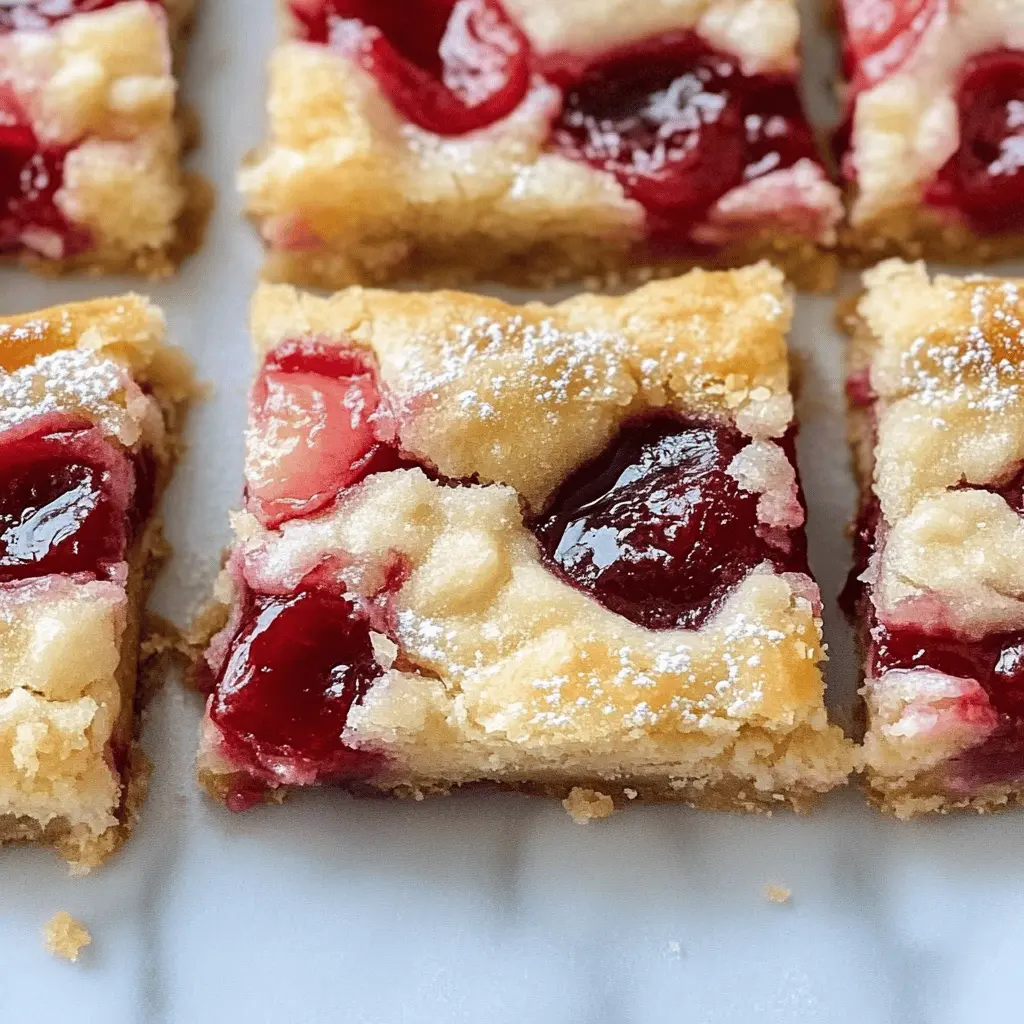
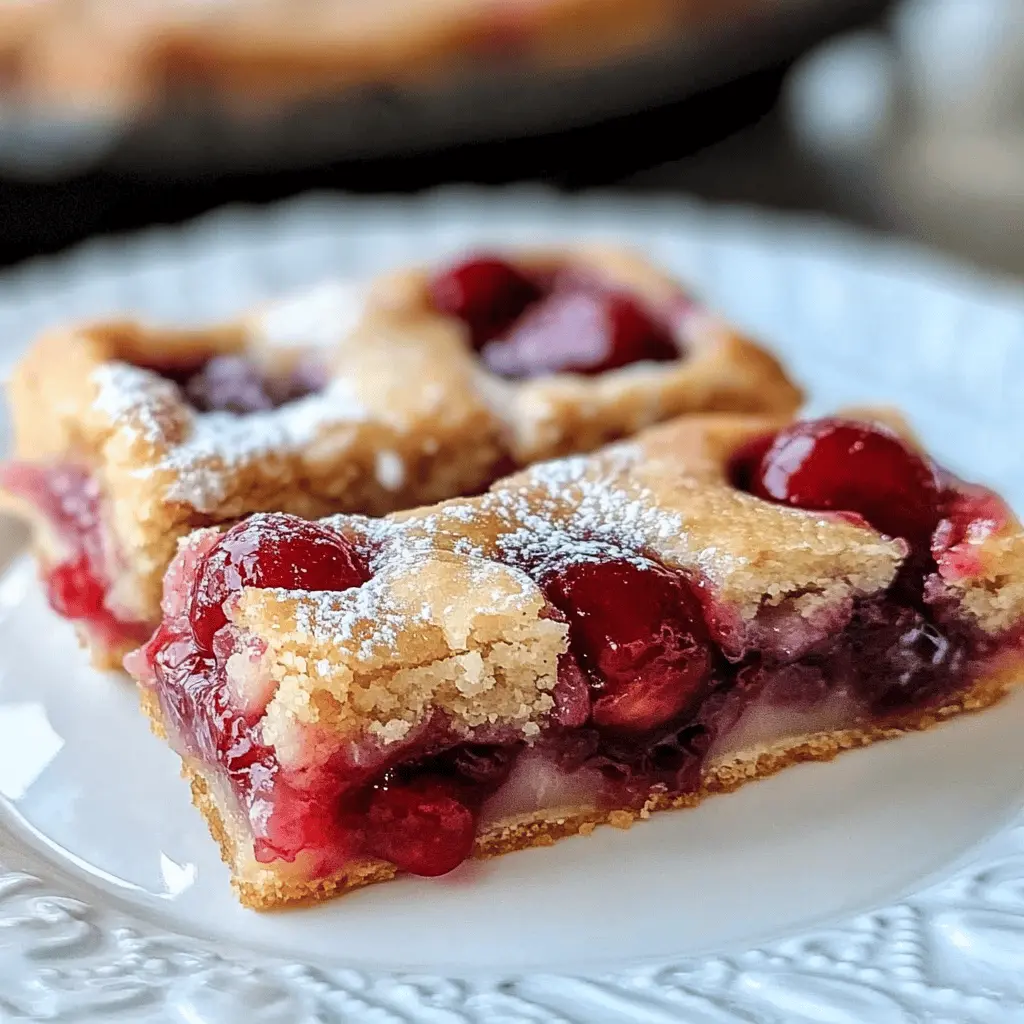
Cherry Pie Bars are a sweet and fruity treat that combine the classic flavor of cherry pie with easy-to-eat bars! A buttery crust holds a delicious cherry filling that’s oh-so-satisfying.
These bars are great for sharing, but if I’m honest, I usually keep a few extra for myself! 🍒 They are simple to make, just mix, pour, and bake, perfect for dessert any time.
Key Ingredients & Substitutions
All-Purpose Flour: This is the base for your bars, giving them structure. If you’re looking for a gluten-free option, consider using a 1:1 gluten-free flour blend. I’ve used both and they turn out great!
Butter: Unsalted butter is key for this recipe to control the saltiness. If you’re dairy-free, coconut oil or a vegan butter substitute works well, although it might slightly alter the flavor.
Cherry Pie Filling: You can use store-bought cherry pie filling for convenience, but homemade filling made from fresh cherries is delightful if you have them on hand. Feel free to swap in other fruit fillings, like raspberry or blueberry, for a twist!
Almond Extract: This is optional but adds a beautiful flavor. If you don’t have it, vanilla extract can replace it, or you can simply skip it. I personally love the almond flavor with cherries!
How Do I Make Sure My Pie Bars Are Perfectly Baked?
Getting the baking time just right is essential for your cherry pie bars. You want them to be lightly golden on top, which shows they’re fully cooked. Here’s how to do it:
- Preheat your oven thoroughly before placing the bars inside. This ensures even baking.
- Keep an eye on the oven towards the end of baking time (30-35 minutes). The edges should look set and slightly pull away from the sides of the pan, while the top has a light golden sheen.
- If you notice the edges browning too quickly, you can cover them with foil for the last 10 minutes.
How to Make Cherry Pie Bars?
Ingredients You’ll Need:
For The Dough:
- 2 cups all-purpose flour
- 1/2 teaspoon baking powder
- 1/4 teaspoon baking soda
- 1/4 teaspoon salt
- 1/2 cup unsalted butter, softened
- 1 cup granulated sugar
- 1 large egg
- 1 teaspoon vanilla extract
For The Filling and Topping:
- 1 can (21 oz) cherry pie filling
- 1/2 teaspoon almond extract (optional)
- 1/2 cup powdered sugar (for icing)
- 1-2 tablespoons milk (for icing)
How Much Time Will You Need?
This delightful recipe takes about 15 minutes to prepare and 30-35 minutes to bake. Make sure to let the bars cool completely afterward. In total, you will need about 1 hour and 10 minutes, including the cooling time. So, grab your apron and let’s bake!
Step-by-Step Instructions:
1. Preheat the Oven and Prep Your Dish:
First, preheat your oven to 350°F (175°C). While the oven is heating up, take a 9×13 inch baking dish and grease it with butter or non-stick spray. This will help your bars to come out nice and easy!
2. Mix the Dry Ingredients:
In a medium bowl, whisk together the all-purpose flour, baking powder, baking soda, and salt. Once everything is well mixed, set this bowl aside for now. This creates the perfect base for your dough.
3. Cream the Butter and Sugar:
In a large mixing bowl, use an electric mixer to cream together the softened butter and granulated sugar. Mix until it’s light and fluffy, which usually takes about 3 minutes. This step adds lots of good flavor and helps make your bars soft!
4. Add the Egg and Vanilla:
Now it’s time to add in the egg and the vanilla extract. Mix those in until everything is fully combined and it looks lovely and creamy!
5. Combine the Wet and Dry Ingredients:
Slowly add the dry ingredient mixture into the butter and sugar blend. Stir gently until just combined. You don’t want to overmix here; it should be slightly lumpy—that’s perfectly okay!
6. Press the Dough into the Dish:
Take about two-thirds of your dough and evenly press it into the bottom of your greased baking dish. This will be the lovely crust for your cherry pie bars!
7. Add the Cherry Pie Filling:
Spread the cherry pie filling over your crust. If you’re using the almond extract, drizzle it over the cherry filling now. It adds a delightful touch of flavor!
8. Crumble the Remaining Dough:
Now, take the leftover dough and crumble it over the cherry filling. This will create a nice topping and make your bars even tastier.
9. Bake to Perfection:
Pop the baking dish into the preheated oven and bake for 30-35 minutes. Keep an eye on it; you’re looking for a lightly golden brown top. The smell will be amazing!
10. Cool the Bars:
Once baked, take your bars out of the oven and let them cool completely in the pan. This usually takes about 30 minutes or so, but the patience will be totally worth it!
11. Prepare the Icing:
In a small bowl, whisk together the powdered sugar and a tablespoon or two of milk until you get a smooth icing. You can adjust the milk amount to get your desired thickness for drizzling.
12. Slice and Serve!
Once your bars are cooled, drizzle the icing over the top. Then, cut into squares and serve! Enjoy your delicious cherry pie bars with friends and family!
Can I Use Fresh Cherries Instead of Pie Filling?
Absolutely! If you prefer using fresh cherries, you’ll need about 3 cups of pitted cherries. Toss them with 1/4 cup of sugar and 1 tablespoon of cornstarch to help thicken the filling as they bake. Let this mixture sit for about 15 minutes before spreading it over the crust.
How Do I Store Leftover Cherry Pie Bars?
Store any leftover cherry pie bars in an airtight container at room temperature for up to 3 days. If you want to keep them longer, refrigerate them for up to a week. Just be sure to let them come to room temperature before serving!
Can I Make These Bars Gluten-Free?
If you need a gluten-free option, substitute the all-purpose flour with a 1:1 gluten-free flour blend. Just make sure that the blend contains xanthan gum, or add 1/4 teaspoon to ensure proper texture!
What Can I Use Instead of Almond Extract?
If you don’t have almond extract on hand or prefer not to use it, feel free to substitute it with extra vanilla extract or a splash of lemon juice for a different flavor twist. It will still be delicious!