This Pina Colada Cheesecake Mousse brings tropical vibes straight to your kitchen! It’s creamy, light, and packed with delicious pineapple and coconut flavors—perfect for a warm day.
Seriously, who can resist a dessert that tastes like a vacation? I love serving this mousse in cute cups topped with crushed pineapple. Trust me, it’s a crowd-pleaser every time!
Key Ingredients & Substitutions
Pineapple: Crushed pineapple adds a sweet tropical flavor. If fresh pineapple is available, you could chop it finely instead. Canned pineapple works well too, just remember to drain it to avoid extra moisture.
Cream Cheese: Softened cream cheese is essential for a creamy texture. If you’re looking for a lighter option, you can use Neufchâtel cheese instead, which has less fat. Dairy-free cream cheese is also a great alternative for a non-dairy option.
Heavy Whipping Cream: This is what gives the mousse its light and fluffy texture. You can substitute with coconut cream for a dairy-free mousse that enhances the tropical flavor or use whipped topping as a shorter shortcut.
Shredded Coconut: Sweetened or unsweetened coconut adds to the texture and flavor. If you prefer less sweetness, go with unsweetened. Toasting the coconut first brings out more flavor and turns it a lovely golden brown, which I recommend for this recipe.
Graham Cracker Crumbs: They form the crust. You might use crushed cookies if you want a different flavor, like vanilla wafers or even chocolate cookies for a unique twist. Gluten-free crackers are also available for a gluten-free version.
How Do I Get the Right Texture for the Mousse?
Achieving the perfect mousse texture is important, and it’s all about the whipping and folding techniques. Here’s how to do it:
- Whip the heavy cream until it forms soft peaks—this means the cream should hold its shape but still be smooth.
- When folding the whipped cream into the cream cheese mixture, be gentle. Use a spatula and a folding motion to keep the mixture airy.
- Don’t overmix; you want to retain the fluffiness from the whipped cream.
By following these tips, you’ll have a light and delicious mousse every time! Enjoy the process and have fun with your toppings too!
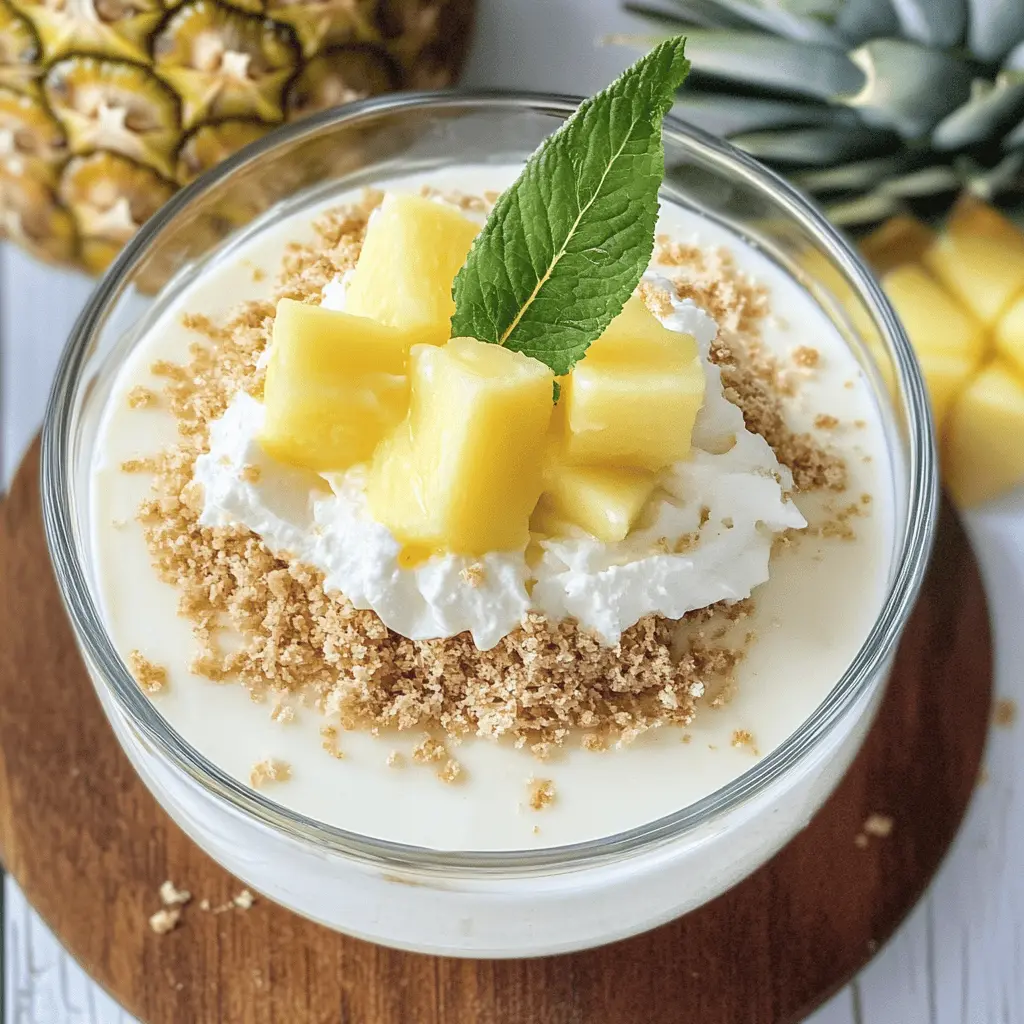
How to Make Pina Colada Cheesecake Mousse?
Ingredients You’ll Need:
For the Mousse:
- 1 cup crushed pineapple, drained
- 1 package (8 oz) cream cheese, softened
- ½ cup powdered sugar
- 1 teaspoon vanilla extract
- 1 cup heavy whipping cream
- ¼ cup shredded coconut (sweetened or unsweetened, based on preference)
For the Crust:
- 1 cup graham cracker crumbs
- ¼ cup butter, melted
For Topping:
- Whipped cream, for topping
- Additional pineapple chunks and toasted coconut, for garnish
How Much Time Will You Need?
This delightful dessert will take about 20 minutes of prep time and at least 2 hours to chill in the refrigerator. So, you can whip it up quickly and then let it set while you relax!
Step-by-Step Instructions:
1. Make the Mousse Mixture:
In a mixing bowl, add the drained crushed pineapple, softened cream cheese, powdered sugar, and vanilla extract. Using a hand mixer, beat everything together until it’s nice and smooth. This will give you a creamy base that’s loaded with tropical flavor!
2. Whip the Cream:
In a separate bowl, pour in the heavy whipping cream. Use a whisk or a mixer to beat it until soft peaks form—this should take just a few minutes. Be gentle now—fold the whipped cream into your pineapple and cream cheese mixture. Do this carefully to keep it fluffy and light!
3. Prepare the Crust:
In another bowl, mix together the graham cracker crumbs and melted butter until everything is well combined. This will be the crunchy base for your mousse.
4. Assemble the Dessert:
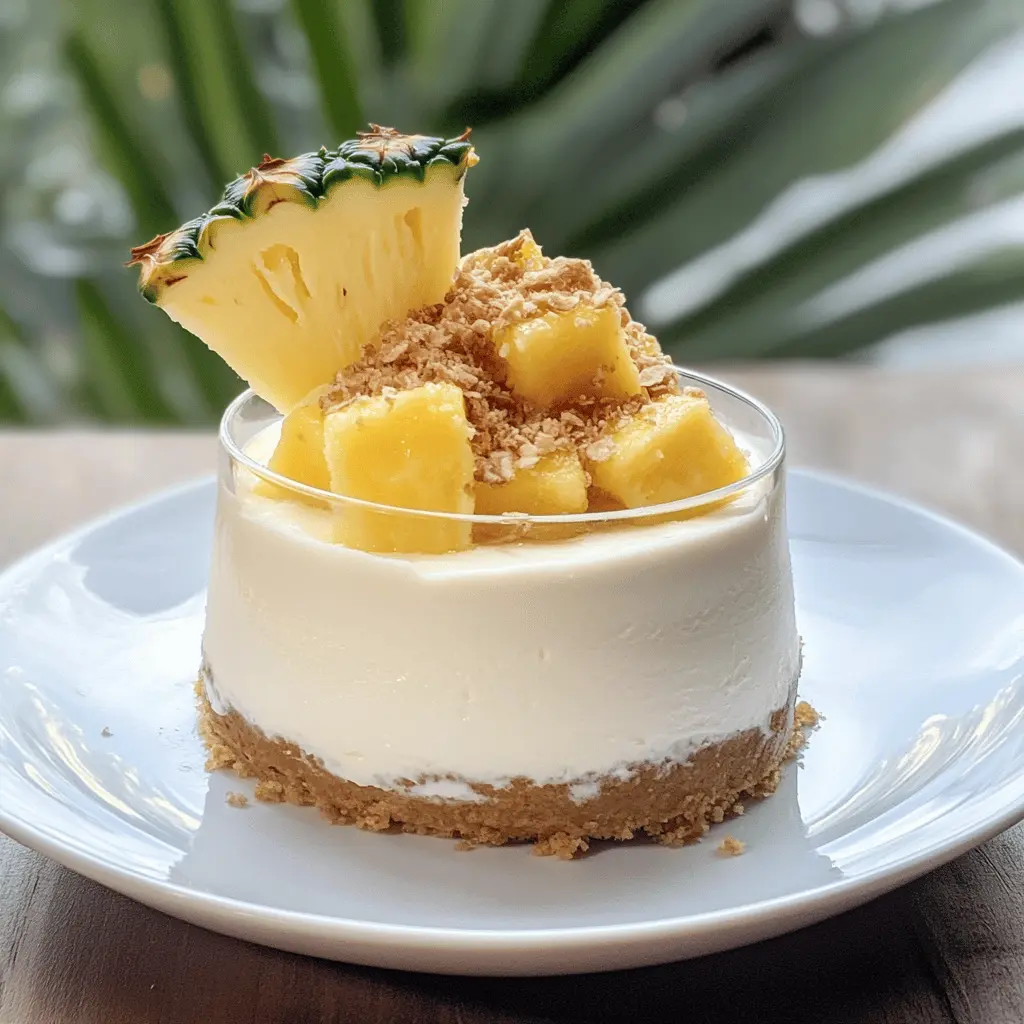
Now it’s time to layer! In your serving glasses or dessert cups, start by adding a layer of the crust mixture at the bottom—press it down lightly so it holds together.
5. Add the Mousse Layer:
Spoon the luscious pineapple cheesecake mousse over the crust layer, filling the cups to the top. It should look beautiful and inviting!
6. Chill Out:
Cover the cups with plastic wrap or lids and place them in the fridge for at least 2 hours. This helps the mousse set nicely and get all the flavors mingling together.
7. Top and Garnish:
When you’re ready to serve, take the cups out of the fridge. Add a generous dollop of whipped cream on top of each mousse, and then sprinkle with extra pineapple chunks and toasted coconut to make them look as good as they taste!
8. Enjoy!
Serve chilled and dive into this refreshing dessert! It’s perfect for summer gatherings or anytime you want a taste of the tropics.
Can I Use Fresh Pineapple Instead of Canned?
Yes, you can use fresh pineapple! Just make sure to finely chop or crush it and drain out the excess juice to avoid making the mousse too watery. You’ll want about 1 cup of crushed fresh pineapple for this recipe.
How to Make This Recipe Gluten-Free?
You can easily make this cheesecake mousse gluten-free by using gluten-free graham crackers or a gluten-free cookie alternative for the crust. Just ensure to check the labels for any hidden gluten ingredients in the cookies or crumbs you choose!
Can I Make This Dessert a Day Ahead?
Absolutely! In fact, making it a day in advance allows the flavors to meld beautifully. Just prepare it as directed and store it covered in the refrigerator until you’re ready to serve. Add the whipped cream and garnishes just before serving for the freshest look!
How to Store Leftovers?
Store any leftover mousse in an airtight container in the refrigerator for up to 3 days. Keep in mind that the crust may get a little soggy, but the flavor will still be delicious! Just give it a stir before serving.
