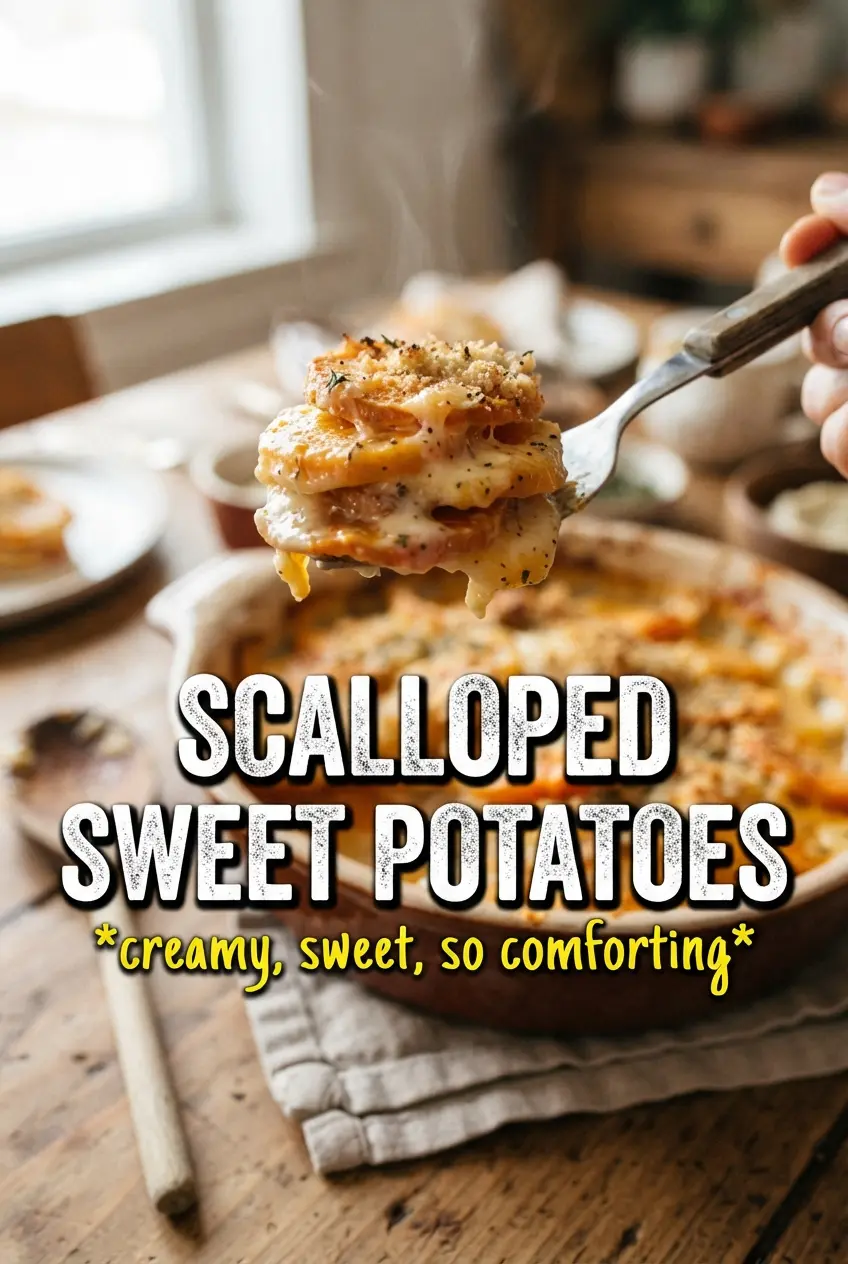
Scalloped sweet potatoes earn their place on the table when the layers turn tender all the way through and the top bakes into a bronzed, bubbling crust. The best versions don’t taste like plain cream and cheese with sweet potatoes tucked underneath. They taste balanced, with enough garlic, thyme, and nutmeg to keep the sweetness from taking over, and enough Gruyere to give the dish a nutty finish that lingers after each bite.
Thin, even slices matter here because they cook at the same pace, and the cream mixture needs to be seasoned before it goes into the pan so every layer gets flavor instead of just moisture. The maple syrup isn’t there to make the dish dessert-like; it rounds out the edges and helps the sweet potatoes caramelize a little where they meet the heat. That rest at the end matters too. Straight from the oven, the sauce looks loose. Ten minutes later, it settles into a silky, spoonable layer.
Below, you’ll find the trick for keeping the top from browning too early, plus a few swaps that still keep the casserole creamy and rich.
The cream actually thickened up instead of running all over the plate, and the maple with the Gruyere was such a good combo. I used a mandoline for the slices and they cooked evenly in the time listed.
Save these scalloped sweet potatoes for the holiday table or any dinner that needs a creamy, golden side with a little maple warmth.
The Reason the Cream Stays Silky Instead of Splitting
The biggest risk in a dish like this is overheating the dairy before the potatoes are tender. If the sauce boils hard in the oven, the fat can separate and leave you with a greasy layer instead of a smooth, clingy cream. This version avoids that by using a mix of heavy cream and whole milk, plus a covered first bake that traps enough steam to soften the sweet potatoes without scorching the top.
Another common problem is slicing the potatoes too thick. Thick slices can leave you with pale, firm centers while the edges on top dry out. Thin, even slices let the cream seep between layers and cook everything at the same pace, which is what gives scalloped potatoes their soft, almost custardy texture.
- The foil cover during the first bake does the real work. It keeps the surface from browning before the potatoes are tender.
- The maple syrup helps the sweet potatoes caramelize at the edges without turning the dish into dessert.
- Resting after baking gives the cream time to thicken. Cut it too early and the sauce will look looser than it really is.
What Each Ingredient Is Actually Doing in This Dish

The sweet potatoes are the backbone here, and their natural sweetness is what makes the maple and spices work. Look for firm potatoes with smooth skin, and slice them as evenly as you can; a mandoline makes this easier, but a sharp knife works if you take your time. Gruyere brings the nutty, savory melt that keeps the dish from tasting flat, while parmesan adds a drier, saltier crust on top.
The cream and milk combination matters. Heavy cream gives body, and whole milk keeps the sauce from becoming too rich or heavy. If you only have one or the other, you can use all heavy cream for a richer bake, but the texture will be denser; all milk will be thinner and less luxurious. Garlic, thyme, cinnamon, and nutmeg sound like a lot, but they work together to bridge the gap between savory and sweet without letting either side take over.
Butter is just there to coat the baking dish and help the edges brown. Don’t skip it, because the potatoes near the pan will pick up the best caramelized bits.
Building the Layers So the Center Cooks Before the Top Burns
Season the cream first
Whisk the cream, milk, garlic, maple syrup, thyme, cinnamon, nutmeg, salt, and pepper in a bowl before you touch the potatoes. That keeps the seasoning evenly distributed, so every pour coats the slices instead of leaving pockets of bland dairy at the bottom. The mixture should smell savory-sweet and lightly spiced, not aggressively cinnamon-heavy.
Layer for even cooking
Arrange the sweet potato slices in overlapping rows, pressing them into a fairly tight layer. Loose stacks leave gaps that dry out, while a packed layer lets the cream settle between the slices and soften everything evenly. Pour the liquid slowly over the dish so it reaches down into the center instead of pooling only around the edges.
Cover, then uncover at the right time
Bake covered for the first 40 minutes until the potatoes are starting to turn tender when pierced with a knife. If the foil isn’t sealed well, steam escapes and the top can dry out before the center cooks through. Once the potatoes are tender, uncover and add the cheese so the top can brown instead of steaming under a blanket of foil.
Finish with a golden crust
After the cheese goes on, bake until the top is bubbling and the edges are deeply golden. The cheese should melt into one cohesive layer with a few browned spots, not sit in a pale blanket. Let the dish rest for 10 minutes before serving so the cream settles and the slices hold together on the plate.
What to Change When You Want a Different Finish
Dairy-Free Version with Coconut Cream
Use full-fat coconut milk or coconut cream in place of the heavy cream and milk, and skip the Gruyere and parmesan or use your favorite dairy-free melting cheese. The dish will still be rich, but it will taste a little more noticeably sweet and the sauce won’t have the same nutty depth as the cheese version.
Gluten-Free Without Any Extra Work
This recipe is naturally gluten-free as written, which is one of the reasons it shows up at holiday dinners so often. Just check your cheese packaging if you’re buying pre-shredded, since some brands use anti-caking agents that can change how smoothly they melt.
A Savoryer Version with Less Maple
Cut the maple syrup in half if you want the dish to lean more classic and less sweet. You’ll still get a little caramelized edge, but the cheese and thyme will come forward more clearly. That’s the better choice when the rest of the menu is already rich or sweet.
Make-Ahead for a Busy Oven
Assemble the dish up to the point of baking, cover it tightly, and refrigerate for up to 24 hours. Let it sit at room temperature while the oven preheats, then add 10 to 15 minutes to the covered bake time if it’s going into the oven cold. That extra time helps the center catch up without overbrowning the top.
Storage and Reheating
- Refrigerator: Store leftovers covered for up to 4 days. The sauce will firm up as it chills, which is normal.
- Freezer: You can freeze it, but the texture softens a bit on thawing. Wrap portions well and reheat from thawed for the best result.
- Reheating: Cover with foil and warm in a 325F oven until hot in the center. The biggest mistake is blasting it in the microwave, which can make the sauce separate and the potatoes turn watery.
Answers to the Questions Worth Asking
Scalloped Sweet Potatoes
Ingredients
Equipment
Method
- Preheat the oven to 375°F and butter a 9x13 baking dish.
- Whisk together heavy cream, whole milk, garlic, maple syrup, fresh thyme, cinnamon, nutmeg, salt, and pepper until evenly combined.
- Layer the sweet potato slices in overlapping rows in the baking dish, then pour the cream mixture over evenly.
- Cover tightly with foil and bake for 40 minutes.
- Uncover the dish, scatter Gruyère and parmesan over the top, and bake for 20 to 25 minutes, until the sweet potatoes are completely tender and the topping is golden and bubbly.
- Rest for 10 minutes before serving.