Country fried chicken earns its place on the table because the crust stays craggy and crisp long enough to carry a blanket of peppery gravy without turning soggy right away. The meat underneath stays juicy from the buttermilk soak, and the seasoning in the dredge gives every bite a little heat, smoke, and salt before the gravy even hits the plate.
The part that matters most is the balance between the flour and cornstarch in the coating. Flour gives you structure; cornstarch helps the crust fry up lighter and more brittle. The buttermilk marinade also does more than tenderize — it leaves just enough moisture on the chicken for the dredge to cling in those rough, uneven ridges that fry into the best crunch.
Below you’ll find the timing that keeps the coating from slipping, the oil temperature that gives you a deep golden crust instead of greasy chicken, and the gravy method that turns the drippings into something worth spooning over everything on the plate.
The crust stayed crunchy even after I spooned on the gravy, and the black pepper in the sauce gave it that classic diner-style finish. I used the full hour marinade and the chicken came out juicy all the way through.
Save this country fried chicken for the night you want shatteringly crisp fried chicken under a peppery homemade gravy.
The Secret to Keeping the Crust Crisp Under Gravy
The biggest mistake with country fried chicken is rushing the breading or crowding the pan. If the coating doesn’t get a minute to hydrate before frying, it can shed in the skillet. If the oil is too hot, the crust browns before the chicken cooks. If it’s too cool, the coating drinks oil and turns heavy instead of crisp.
The answer is a steady 325°F and a little patience after dredging. That short rest helps the flour paste onto the chicken and form those rough, flaky bits that fry into texture. A cast-iron skillet helps hold the temperature steady, which matters more than trying to cook this in a thin pan that loses heat every time you add chicken.
- Buttermilk — It tenderizes the chicken and gives the dredge something to cling to. If you’re out of buttermilk, use milk mixed with a tablespoon of lemon juice or vinegar, but the coating won’t be quite as thick or tangy.
- Cornstarch — This is what keeps the crust lighter and a little brittle. Skip it and you’ll still get fried chicken, but the shell will be more bready than shattering.
- Smoked paprika and cayenne — These don’t just add heat. They give the crust enough depth to stand up to the gravy so the whole dish tastes seasoned, not just salty.
- Whole milk for the gravy — The fat in whole milk helps the gravy turn smooth and plush. Lower-fat milk can work, but the sauce will feel thinner and take a little more attention on the stove.
What Each Ingredient Is Actually Doing in This Recipe

- Primary ingredient (the star) — Quality matters most. Choose the best you can find.
- Cooking medium (oil, butter, or broth) — This carries flavors and prevents dryness.
- Seasonings (salt, pepper, spices, herbs) — Layer flavors so nothing overpowers. Build depth gradually.
- Aromatics (garlic, onion, herbs) — Cook with fat to bloom flavors. Become the foundation.
- Supporting ingredients — Complement the main ingredient without overpowering it.
- Sauce or liquid (if applicable) — Brings flavors together. Balance richness with acid.
- Acid (lemon, vinegar, wine, or other) — Brightens and prevents flat-tasting results.
- Final finish (garnish, glaze, or sauce) — Prevents one-dimensional taste and adds visual appeal.
Getting the Chicken Crispy Before the Gravy Starts
Marinate for Flavor and Adhesion
Submerge the chicken in the buttermilk mixture and give it at least an hour. That time is what seasons the meat all the way through and softens the surface just enough for the flour to grab on. If you rush this step, the chicken can still fry up, but the flavor stays on the outside and the crust won’t cling as well.
Build a Rough, Floury Coating
Whisk the dredge ingredients together in a shallow bowl, then press each piece of chicken into the flour mixture instead of tossing it lightly. You want a thick, shaggy coating with uneven bits, because those crags turn into the crunchiest part. Let the excess drip off the marinade first, or the coating can turn gummy in spots before it even hits the oil.
Fry at a Steady 325°F
Heat the oil slowly and keep the temperature near 325°F while the chicken cooks. The chicken should sizzle the moment it goes in, but not roar so violently that the outside darkens too fast. Cook until the crust is deeply golden and the thickest part of the chicken reaches 165°F. If the outside looks done before the inside is cooked, the oil was too hot.
Make the Gravy in the Same Pan
Pour off most of the oil, leaving just enough to start the gravy with the butter and flour. Cook the roux for a minute or two so the raw flour taste disappears, then add the milk and broth gradually while whisking. The gravy should thicken enough to coat a spoon and hold black pepper in suspension. If it gets lumpy, whisk harder and lower the heat before adding more liquid.
How to Adapt This for the Way You Cook
Gluten-Free Coating That Still Fries Crisp
Swap the all-purpose flour for a good gluten-free 1:1 flour blend and keep the cornstarch. That combination still gives you a sturdy crust with a brittle edge, though it may brown a little faster, so watch the color closely in the skillet.
Dairy-Free Version With the Same Crunch
Use an unsweetened plain non-dairy milk mixed with a tablespoon of lemon juice or vinegar in place of the buttermilk, and thicken the gravy with a dairy-free butter and unsweetened oat milk or broth. The chicken still fries up well, but the gravy will be a little less rich than the classic version.
Bone-In Thighs Only
Use all thighs if that’s what you have. They stay especially juicy and are more forgiving than breasts, but they may need a few extra minutes in the oil. Check the thickest part near the bone so you don’t pull them too early and miss the crisp finish.
Storage and Reheating
- Refrigerator: Store the chicken and gravy separately for up to 3 days. The crust softens in the fridge, but it can still crisp back up in the oven.
- Freezer: The fried chicken freezes well without the gravy. Cool completely, wrap tightly, and freeze for up to 2 months. Freeze the gravy separately only if you don’t mind a slight texture change after thawing.
- Reheating: Reheat chicken on a rack in a 375°F oven until hot and re-crisped. Warm the gravy slowly on the stove with a splash of milk or broth. Don’t microwave the chicken if you want the coating to stay crisp.
Answers to the Questions Worth Asking
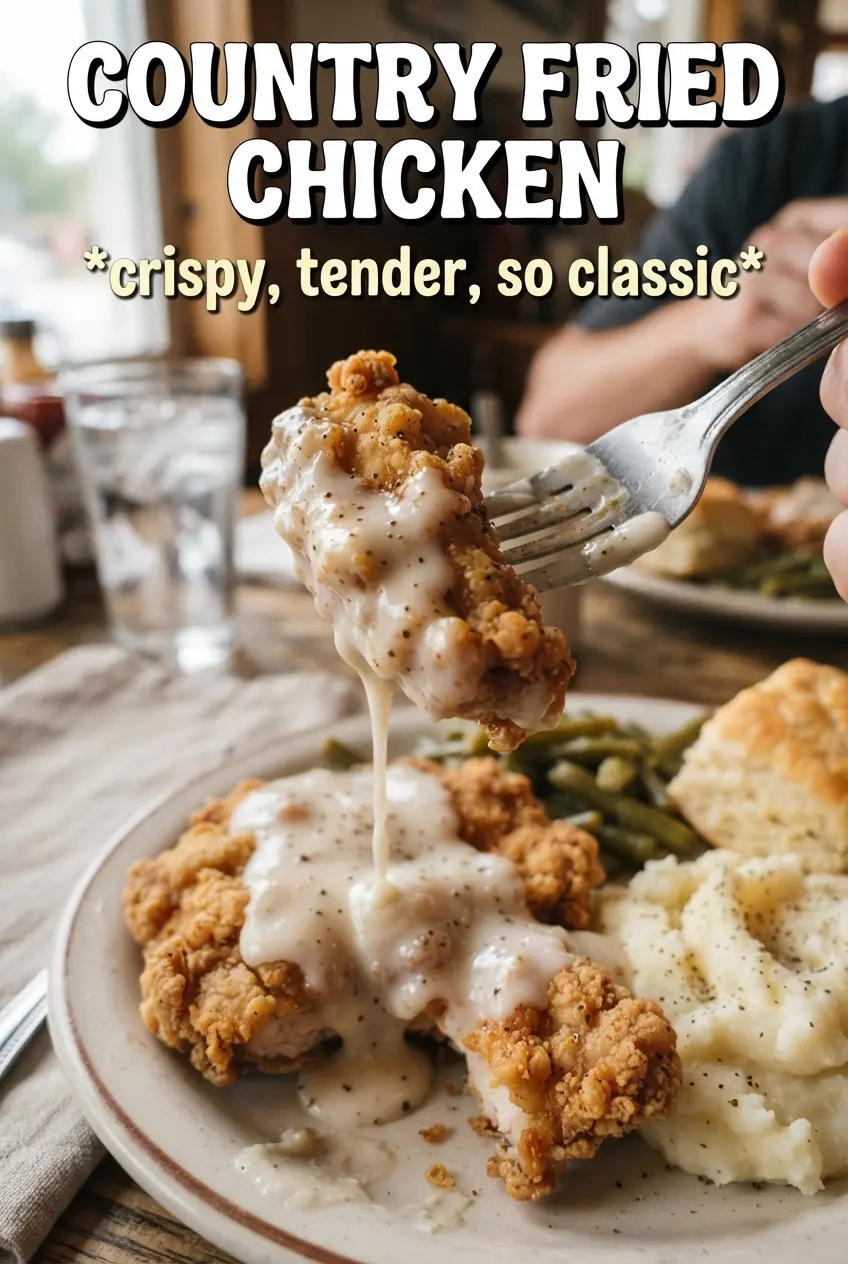
Country Fried Chicken
Ingredients
Equipment
Method
- Whisk buttermilk, hot sauce, salt, and black pepper in a bowl, then submerge the bone-in chicken pieces. Rest in the refrigerator for 1 hour (up to overnight) so the coating sticks and seasons evenly.
- Whisk all-purpose flour, cornstarch, garlic powder, onion powder, smoked paprika, cayenne, salt, and black pepper in a shallow bowl. Keep it ready for dredging with a smooth, even mix.
- Remove the chicken from the buttermilk marinade and let excess drip back into the bowl. Dredge each piece in the flour mixture and press so the coating adheres closely.
- Heat vegetable oil to 325F in a large cast-iron skillet. Fry the chicken 12-15 minutes per side until deeply golden and cooked through to 165F internal, turning once for even browning.
- Melt butter in the skillet, then whisk in flour and cook for 1-2 minutes. The mixture should look smooth and slightly golden to remove the raw flour taste.
- Gradually whisk in whole milk and chicken broth, then continue cooking until thick. Season with salt and lots of black pepper, stirring until glossy and pourable.
- Serve the fried chicken smothered in country gravy. Add extra black pepper on top to match the peppery, bold flavor.